Showing 1–16 of 120 resultsSorted by popularity

Surfboard Grips
Surfboard Grips, or Surfboard Traction, come with a range of features and are of various qualities. Whether it’s a tail pad or deck pad, shortboard grips, longboard grips or SUP grips, each has unique and optimum features to progress your surfing. The more features and better quality your surfboard grip, the more it will add to your surfing performance.
What Is It?

Surfboard grips are made of EVA foam. This is a soft flexible material that comes in sheets on the left. It’s compressed to give it more strength then patterns are applied. The patterns can be embossed so that the EVA is sealed, life the middle left, having a smoother more water proof finish. Or the EVA can be etched, like the middle right, where a pattern is cut into the surface leaving higher and lower areas. Holes, grooves can be applied too. Adhesive is applied to the rear and the pieces are cut into shape
Surfboard grip is a foam that has a pattern pressed into it, adhesive added to the back, that’s then cut into a shape or shapes to fit your board. The foam can be a chemical foam, usually its EVA, or more recently natural algae foams have been used. They’re almost indistinguishable from each other in the way they feel and perform. Algae foam is said to be more environmentally friendly. However it all needs to be processed and it all comes plastic wrapped.
Shape
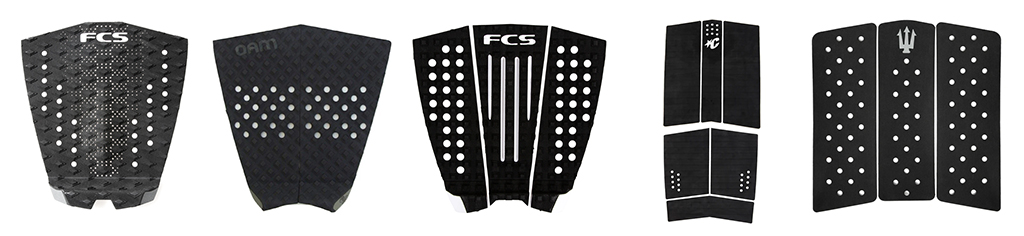
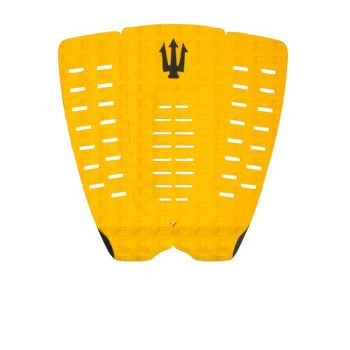
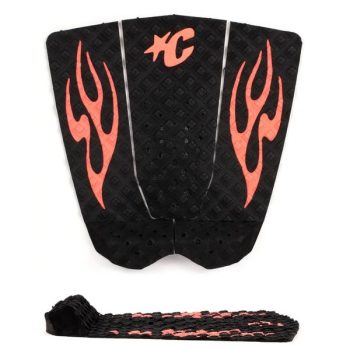
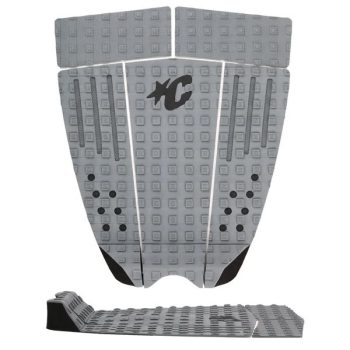
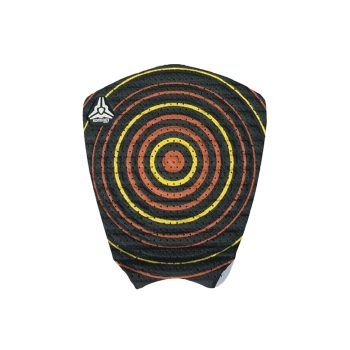
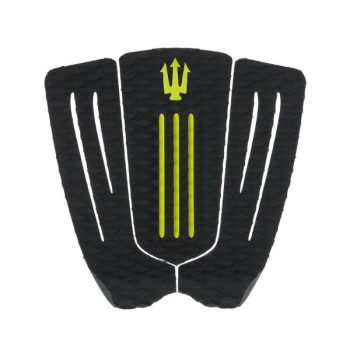
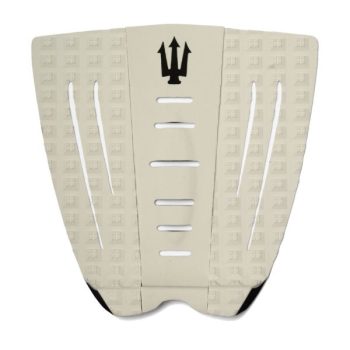
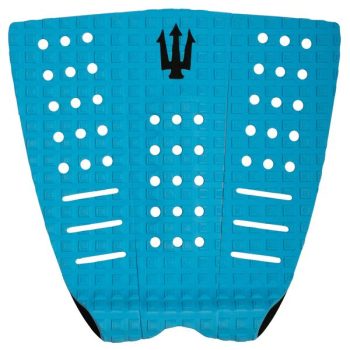
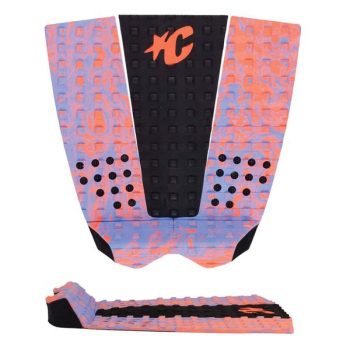
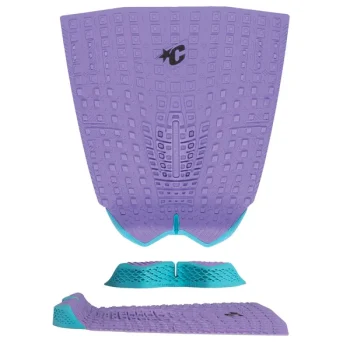
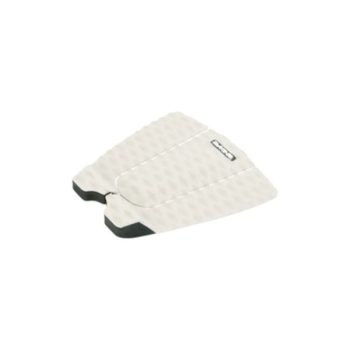
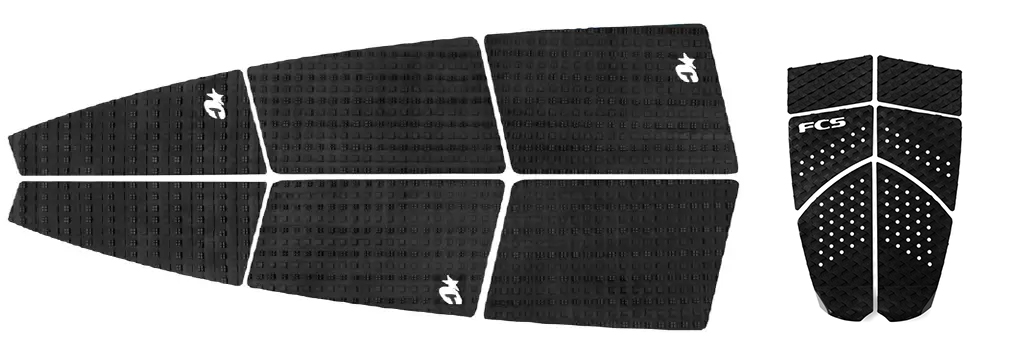
Different shape grips fit different board areas and places. For example the first three grips are tail pads for shortboards. They are a one piece, two piece and three piece grip. The 3 piece grip can be expanded to cover a wider area. Next is a full coverage grip for a longboard that you can expand vertically along your board as well as expand out covering width. The last grip is a front grip that can be expanded to cover narrow to a wider board and can be used on any board
The shape to which your surfboard grip is cut is a feature you have a choice over to match what type of board you have and where you’ll use your pad. For example a shortboard or longboard will have different pads, and different pads are used at the front or rear of your board. There’s also options for coverage or preference you have for the feel of the pad. For example the pad shape can be one piece, two piece and usually no more than 3 pieces each covering different areas and giving a slightly different feel. The surfboard traction foam is around 5mm thick for most of the pad.
Pattern

Grip patterns are very innovative. On the left TLS has a ‘corduroy velour’ texture that your foot can sink into and get traction with resistance from the fine horizontal lines. The next TLS pattern has squares or diamonds applied onto the base like nodules. FK’s grip in the middle has slots. Your toes and side of your feet can get good leverage from these however they’ll tend to warp with prolonged use as the long opening doesn’t have enough support. The Creatures grip features lots of tiny holes on the sides. These create a squishy surface for your toes to grip into. This is good in warmer water. In colder water the EVA tends to stiffen and the holes are too fine so smooth out. The center holes provide some grip under your arch, however they’re there mainly to reduce weight. The FCS grip on the end has a lot of holes and these are great for your toes to grip into. The slots in the middle are more cosmetic as your foot will tend to slide along them
A pattern is embossed or etched into the foam so it’s not smooth but provides a corrugated surface enhancing grip in the water. An embossed pattern gives you lots of small dimples and dents. Etching a pattern actually cuts out sections so it’s rough finished. The embossed grip may be slightly less grippy than an etched grip however it offers a benefit in that it’s not as abrasive on your knee or any part of your body that rubs against it. Embossed grips tend to not take on as much water so add less weight in the surf.
The different surf brands have a wide range of creative names for their patterns such as Aztec Square or Diamond Groove. The pattern should work so as to provide natural hold for your foot without you having to press down too hard so that when you do press down your foot is held firm. With names like square or diamond you can see their patterns have plenty of edges that your foot will ‘catch’ against.
Some patterns are well thought out so that they are slanted. When you move your foot back they catch. When you move your foot forward, to get into a new position for a new move, they allow for a quick and easy movement.
Holes & Grooves
The pattern can also include holes and grooves. These provide additional benefit giving your toes a place to grip into. They also allow the grip to flex or squish under your foot and this helps your traction. However some patterns, grooves especially, can be cosmetic. If they run down the pad your foot will just slide along them. They need to be horizontal to provide any traction.
In terms of thickness grips are around 5mm-7mm thick along most of the pad. Thickness gives you sensitivity. The thicker the grip the less sensitivity you have. Front grips tend to be thinner on shortboards where performance surfing is a major objective. Longboards and SUPs, the actual boards, tend to be thicker so Longboard grips and SUP grips can be thicker too as they make up only a fractional amount of the total thickness under your feet.
Kick

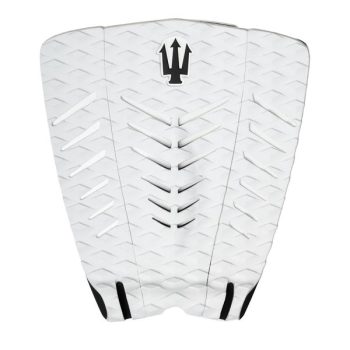
The Kick is found at the rear of tail pads and is acknowledged as a benefit to most surfers. It provides a stopper where the side of your foot can’t slide any more and so you can apply power directly into your moves. Kicks have features that will appeal to your personal preference. Some are close to vertical, some are sloped. This difference affects if your foot can position at an angle on the kick or always has to be butted up against it. Some kicks have a large area on top, a landing pad for your foot to stomp on. Others are shear. The Fish grip on the right has a small slope as you tend to surf a Fish in a more cruisy manner moving your foot around
The kick is at the rear of tail pad grips and most shortboard tail pads have kicks. Grips for Fish boards though tend to have no kick or are only slightly raised. On longboards while you may have a kick you don’t usually get your foot that far back.
Usually a kick will be between 20mm-30mm high. If it’s too high it will rub against your thigh while you’re paddling getting very uncomfortable very quickly. Too high it will also interfere with your jump up, your toes catching against it.
If your grip is placed correctly to match your board’s sweet spot then when placing your foot against your kick you will feel a great sense of stability and control over your ride. The kick can aid your performance as you can really bare down on it driving your board and unleashing explosive power.
Arch Bar
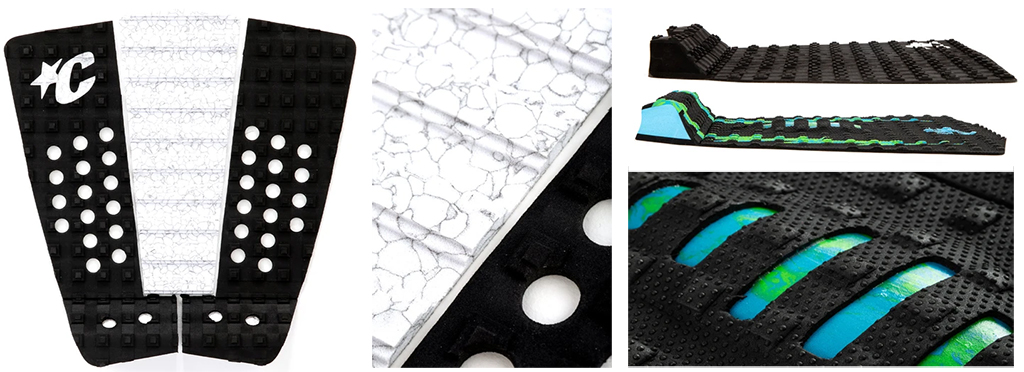
Not all surfers like arch bars. Creatures of Leisure came out recently with the Mitch Coleburn grip with an arch bar that runs the length of the grip to the kick. It has ridges and is of a different finish than the rest of the grip. It can feel slippery under foot. At the top right some grips have no arch bar at all. Below that you can see a Mick Fanning grip with the arch bar bulging slightly in the middle of the grip. This curved shape matches the shape of the arch of your foot. The arch is great to test instore to see if you like it higher, lower or not at all
The arch bar is another raised point of your grip. Not all grips have it. The arch bar is a raised mound roughly in the middle of the grip, around 5mm-7mm high. It’s there to provide arch support. It’s a personal preference. Some surfers like high arch bars. Others like them lower. Two piece grips, that are cut down the middle don’t tend to have arch bars as the cut for the two pieces would go straight through it.
The arch bar is personal preference so it’s great to be able to come in store and test one out on a board under your foot. Kelly Slater for a long time did not use one, then started using one on his grip.
Pieces
The number of pieces in the grip help with coverage. For example with front grip if you have 3 pieces, even if they’re narrow, you get versatility of coverage placing them close together or father apart. Whereas if it’s one piece it will only cover that area. The same is true for the tail pad. A one piece grip will only cover a fixed space. A two piece grip can be opened up covering more. A three piece grip is the most versatile as it can have the side pieces positioned optimally on the rails and the center piece be right there in the middle.
Some tail grips include 5 pieces, 2 extra pieces that sit in front of the main pieces. So you get two extra pieces to place up your board. These are handy for a longer board or Gun where your foot may end up way forward.
Shortboard Grips
For your shortboard you’ve got the option of 1, 2, 3 and 5 piece grips. You get the benefits as described above with being able to place the pieces with more versatility dependent on the number of grip pieces.
Longboard Grips
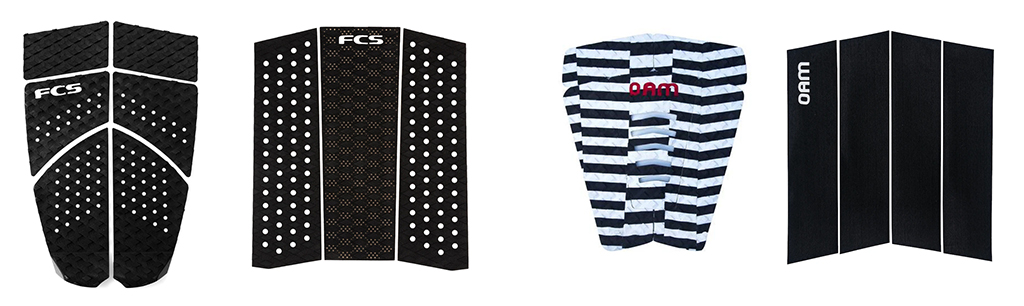
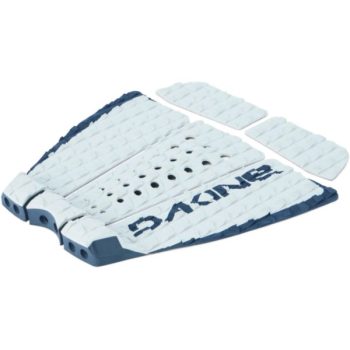
Longboard grips from FCS and OAM On A Mission. Note both the tail pads have an angled outline that narrows towards the tail, as most longboards have narrower tails. Both brands have a front grip to provide traction for your front foot. If you wanted more grip coverage you could use several front grips or check out some SUP Grips
Longboard grips are mainly shortboard tail pads. However it’s rare that a longboard rider will get his foot all the way back to benefit from it. Front grips tend to go in and out of fashion and can be used based on personal preference. Any front pad grip can be used for longboard grips.
Longboard grips are therefore very similar to shortboard grips. You can check the wide range of grips and use any as longboard grips.
SUP Grips
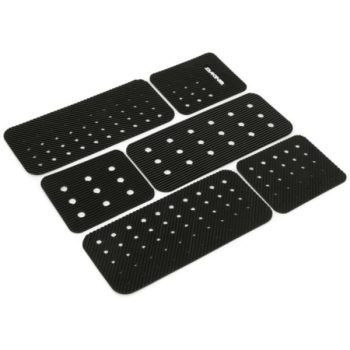
SUP Grips tend to be quite specific for all of the mass manufactured SUPs. If you’re going for a custom high performance SUP Creatures of Leisure provide the grip on the left. It’s a great format and the pieces can be moved for optimum fit. The other option is to use surfboard grip, so check longboard grips or shortboard, especially if your SUP is nearing the length of a longboard or shortboard. You’ve got a few different options for SUP grips
SUP grip tends to cover the whole of the back part of your board. Some SUP grips run all the way to the nose. In performance SUPs, that are emulating shortboards, custom SUP grips can have a kick just like a surfboard grip.
It’s worth having a close look at these SUP Grips to see what suits your performance ideas and what will fit your SUP. Most commercial SUPs come with their own grip so you don’t have much choice over it.
Placement
Where you position your tail pad is almost more important than the grip itself. All grips will give you traction. So it’s where you place it, matching your board’s sweet spot that will give you the super enhancement of your performance.
Surfboards have a sweet spot. This is a place where you stand where your board has its top speed and easiest turning. Where your back foot is placed for this sweet spot is where you want to place your pad kick.
How do you know where your sweet spot is on a new board? You don’t. So most tail pad placement lines up the kick to be above the middle of your rear fin. You have to look from the side to see this, and use a pencil mark if needed.
On a Twin Fin or Quad you place the grip in front of the leash plug. You also don’t want the pad too close to the rails so that they hinder water flow.
How To
How to put your grip on is easy though you should take a minute to plan it out. Make sure the surface of your board is clean free such as free of sanding dust or fingerprint marks. If it’s a used board make sure all wax is removed, use wax remover if necessary.
Place the grip pieces where you want them to be. Use the board’s stringer to get alignment with the center of the pad. If needed place pencil marks. Check the placement of the side pieces that those pieces are not too close to the rail.
Starting with the center piece peel the adhesive cover off and place the pad from one end letting it touch lightly. Don’t place it all at once as this can create air bubbles reducing grip. Also by placing it lightly you give yourself a chance to re-place it if necessary.
Place the side pieces in a similar manner. Once all pieces are on your board, with the side of your fist gently tap down on the grip. This is especially important on the areas at the front sides as these tend to peel up.
Your Preference
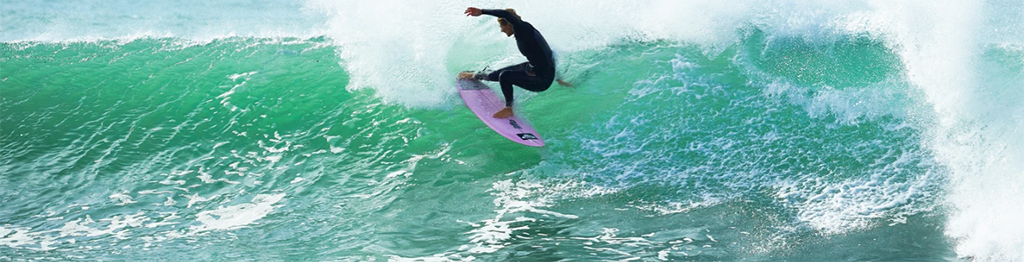
The right grip makes a big difference to your surfing performance and progress. Above, Stephanie Gilmore jamming on her Creatures of Leisure grip. Below, Filipe Toledo with FCS
Surfboard Grips come in a wide variety of colours so you can go for all black or a colourful option that can blend or contrast with your board.
The arch bar is a key feature you can test in store as to your preferred height. You can also check out the pattern for the one you get a positive feel from. Some grips are squishier than others. This can be a good thing if your water temperature is much cooler than the air temperature as in the water the grip will still give traction rather than becoming too firm and slippery.
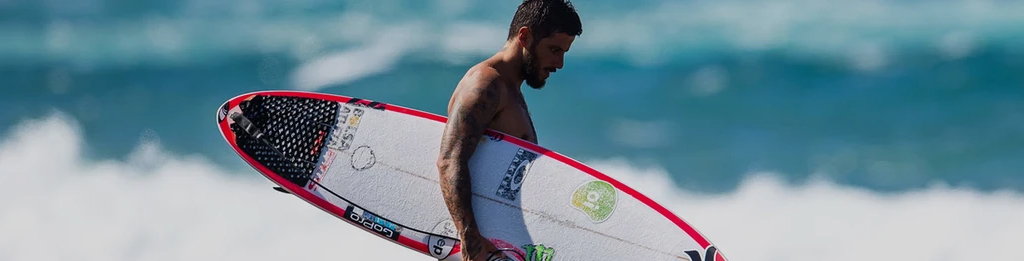
To check grip performance you can see what your favourite Pros are riding. Going beyond the brand name you’ll be able to see if it’s a 2 or 3 piece pad. What the pattern’s like. Where do they place it. There’s a pic of Owen Wright surfing and his foot is so far back that it’s either on top of the kick, not in front of it, so as to get maximum pivot from the rear of his board.
So Shortboard Grips, Longboard Grips, SUP Grips can all be checked and tested in store to help determine your personal preference and provide a basis from which to compare grips. Your grip with the features you choose will give you the performance edge to rapidly progress your surfing.
![]()
